Reka bread recipe wasn’t something I grew up with — I found it by accident while flipping through an old cookbook at my grandma’s house. The ingredients were so simple, I figured, why not give it a shot? A few hours later, my whole kitchen smelled like heaven, and the first bite sealed the deal. Soft inside, just a little crispy outside — pure comfort. If you’re looking for a no-fuss, homemade bread that feels like a warm hug, this reka bread recipe is it. Let’s dive in and make it happen.
Print
Reka Bread Recipe: How to Make the Perfect Traditional Loaf at Home
- Total Time: 1 hour 45 minutes (includes rising time)
- Yield: 1 loaf (about 8–10 slices) 1x
Description
A simple, soft, and homemade Reka Bread Recipe that’s perfect for beginners. Light, fluffy, and easy to bake at home with basic pantry ingredients.
Ingredients
-
3 ½ cups all-purpose flour
-
1 packet (2 ¼ tsp) active dry yeast
-
1 ¼ cups warm water (around 105°F)
-
2 tablespoons sugar
-
1 teaspoon salt
-
1 tablespoon olive oil (optional)
Instructions
-
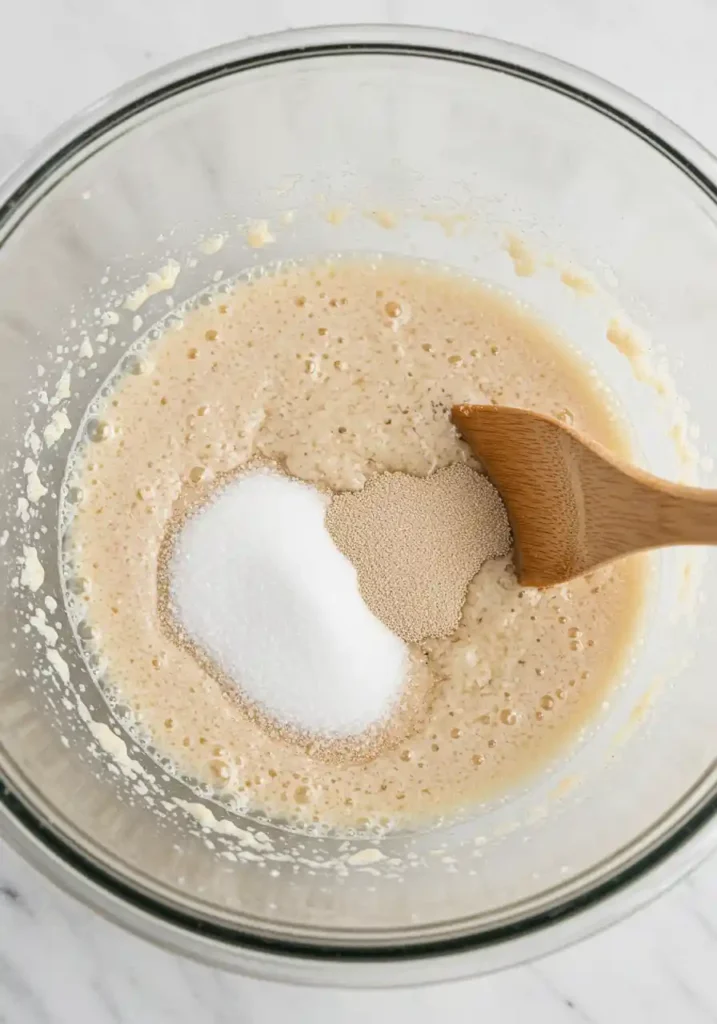
In a large bowl, mix warm water and sugar. Sprinkle yeast on top and let it sit for 5–10 minutes until foamy.
-
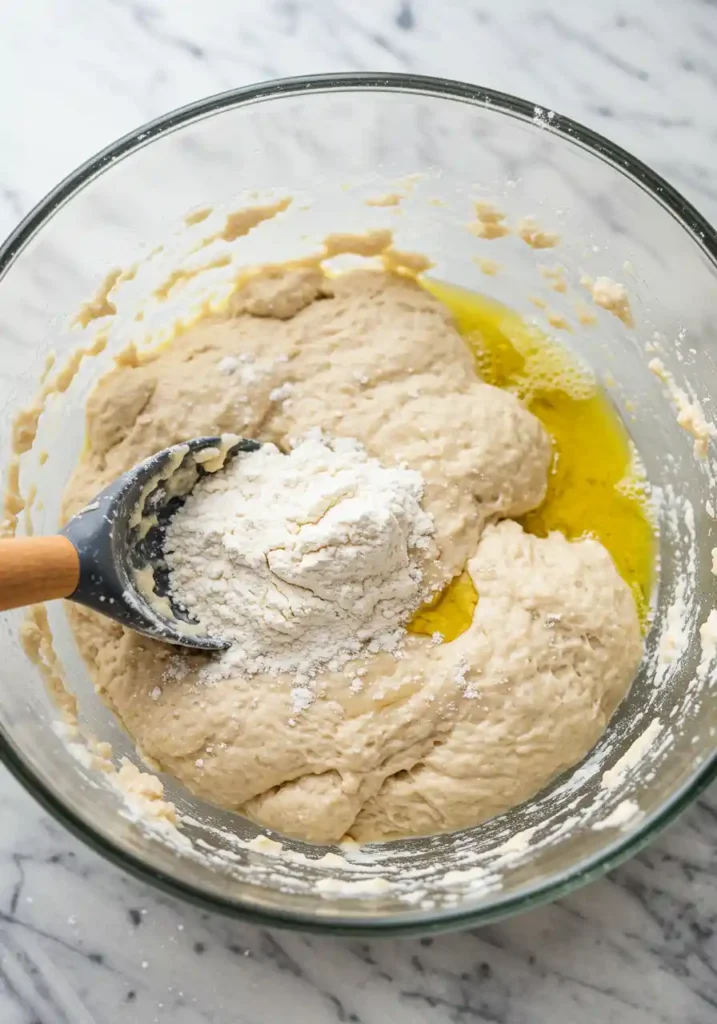
Add flour and salt to the yeast mixture. Stir to form a rough dough. Add olive oil if using.
-
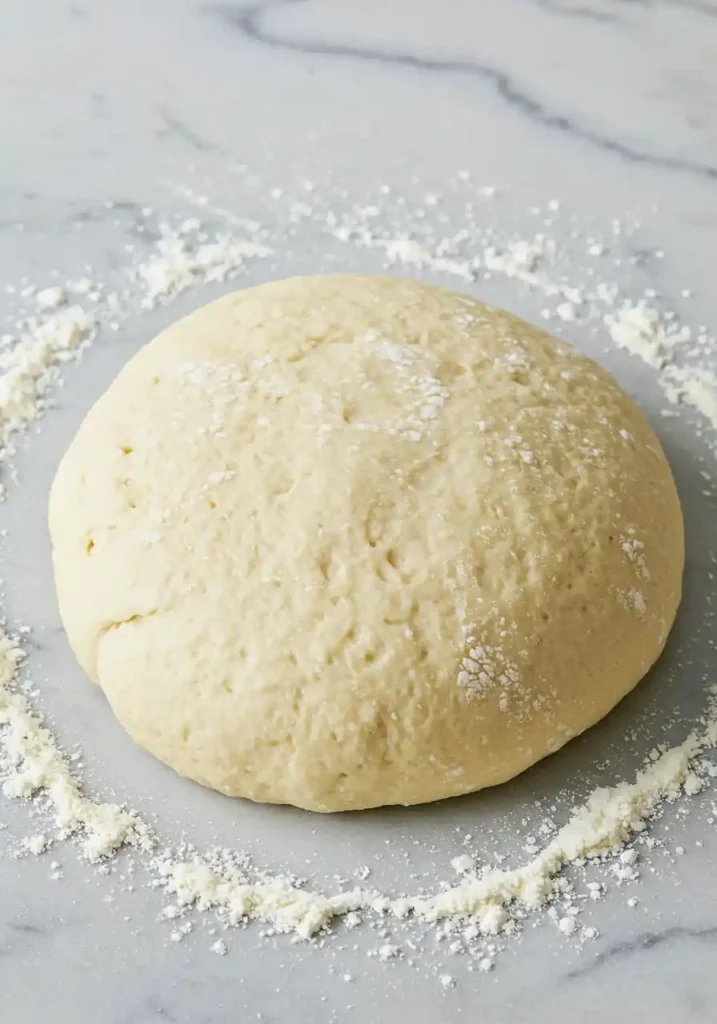
Knead the dough on a floured surface for 8–10 minutes until smooth and elastic.
-
Place the dough back in the bowl, cover, and let rise for about 1 hour until doubled in size.
-
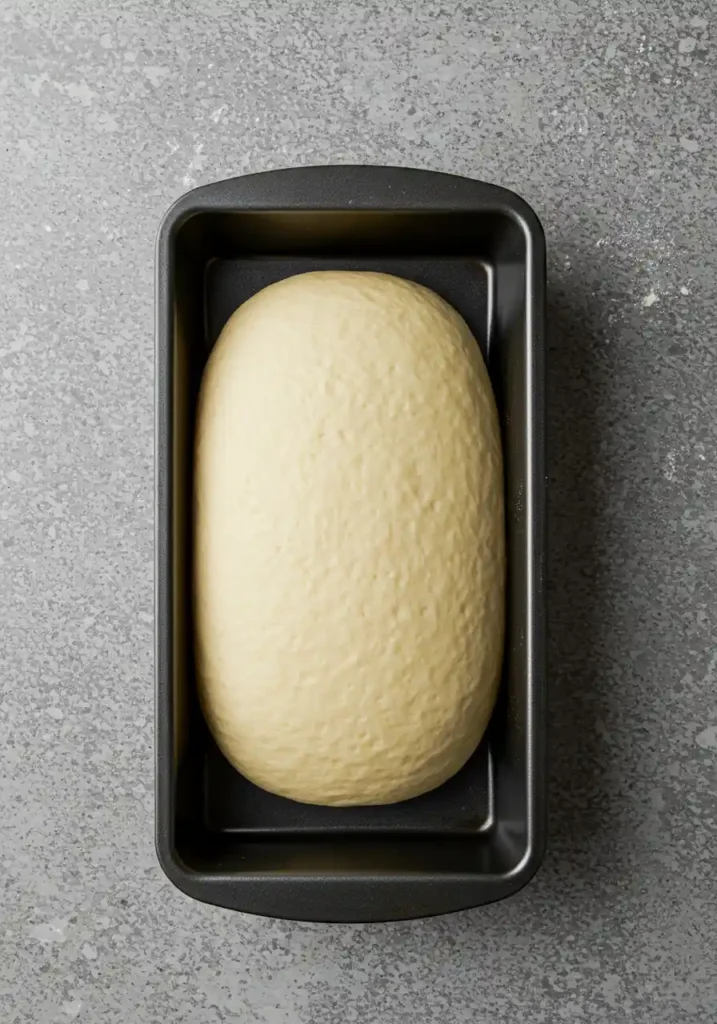
Punch down the dough, shape into a loaf, and place on a baking sheet or in a loaf pan.
-
Let rise again for 30–45 minutes until puffy.
-
Preheat oven to 375°F (190°C).
-
Bake the loaf for 25–30 minutes until golden brown and hollow-sounding when tapped.
-
Let cool on a wire rack for 20 minutes before slicing.
Notes
-
For a richer loaf, brush the top with olive oil before baking.
-
To make gluten-free, substitute with a 1:1 gluten-free flour blend.
-
Add herbs or cheese for extra flavor twists!
- Prep Time: 15 minutes
- Cook Time: 30 minutes
- Category: Bread
- Method: Baking
- Cuisine: Homemade, Traditional
Nutrition
- Serving Size: 1 slice
- Calories: 180 kcal
- Sugar: 1g
- Sodium: 190mg
- Fat: 3g
- Saturated Fat: 0.5g
- Unsaturated Fat: 2.5g
- Trans Fat: 0g
- Carbohydrates: 32g
- Fiber: 1g
- Protein: 5g
- Cholesterol: 0mg
Table of Contents
Introduction to Reka Bread Recipe
What is Reka Bread?
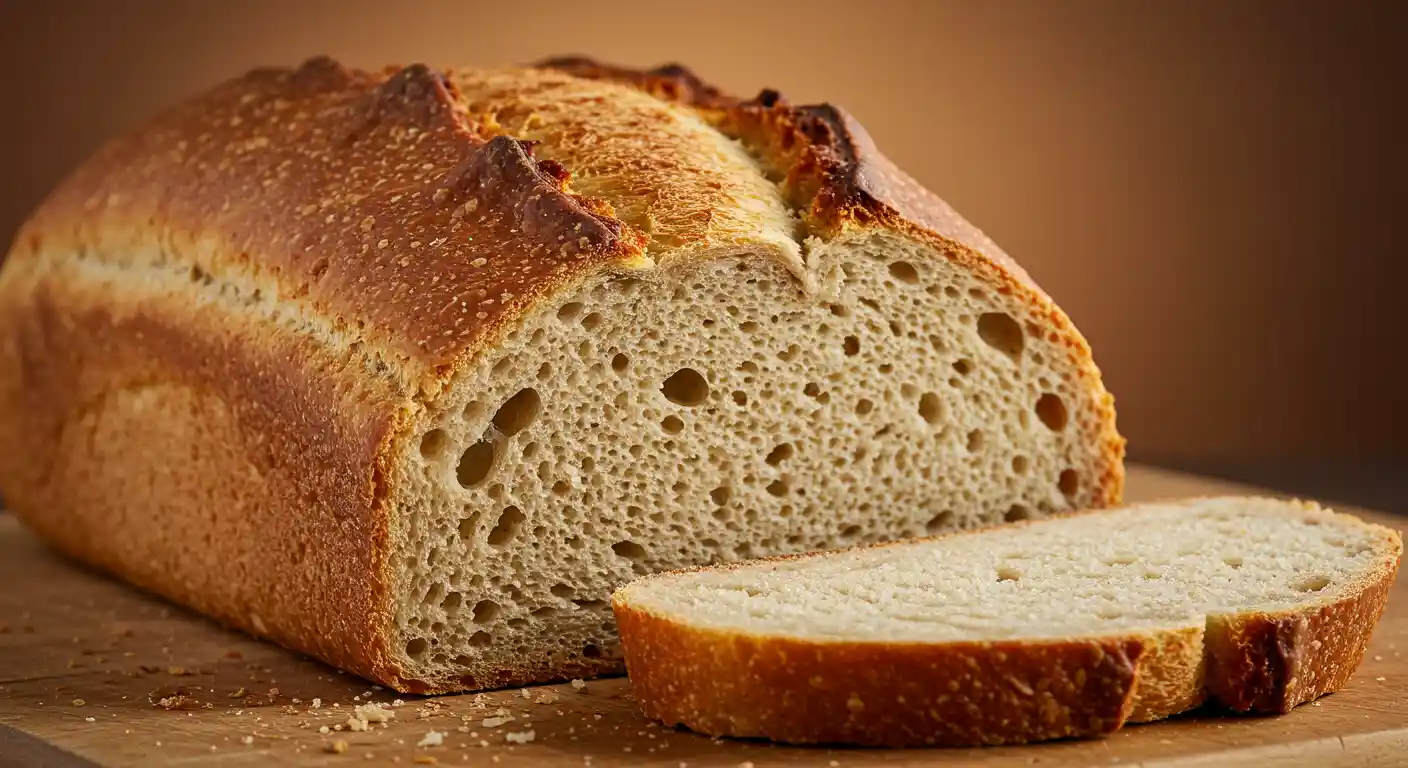
Reka bread is one of those hidden gem recipes that makes you wonder why you didn’t hear about it sooner. It’s a simple, homemade loaf with a soft, fluffy inside and a light golden crust. The kind of bread that’s perfect for breakfast, sandwiches, or just tearing off a piece while it’s still warm.
What makes the reka bread recipe so special is how easy it is — no crazy techniques, no fancy ingredients. Just real, old-school baking that feels good to make and even better to eat.
If you’re the type who loves a good slice of warm, fresh bread without all the hassle, this one’s definitely worth trying.
History and Cultural Significance of Reka Bread
While reka bread isn’t as famous as sourdough or baguettes, it carries that same homemade, passed-down feeling you get from family recipes. It’s believed to come from small-town kitchens where ingredients were simple, but the food was made with heart.
Back in the day, Reka bread was the everyday loaf — baked for Sunday dinners, packed in lunches, or pulled out when company came over. No matter the occasion, a loaf of this bread on the table meant you were feeding people you cared about.
Learning the reka bread recipe today isn’t just about baking something tasty — it’s a small way to connect with that old-school kitchen magic. A loaf that’s humble, hearty, and full of soul.
Ingredients Needed for a Traditional Reka Bread Recipe
Essential Ingredients List
When it comes to making a good reka bread recipe, you don’t need anything fancy — just the basics. That’s part of what makes it so great. Here’s what you’ll need:
| Ingredient | Purpose |
|---|---|
| All-purpose flour | The backbone of your dough |
| Active dry yeast | Helps the bread rise and get fluffy |
| Warm water | Activates the yeast |
| Sugar | Feeds the yeast and adds a hint of sweetness |
| Salt | Brings out the flavors |
| Olive oil (optional) | Adds richness and softness to the crumb |
That’s it. Simple, right?
Most of this stuff’s already hanging out in your pantry, just waiting to become something awesome.
How to Make Reka Bread Step-by-Step
Making a homemade reka bread recipe is simple when you break it down. Here’s the clean, no-fuss method:
Step 1: Activate the Yeast
In a large bowl, mix warm water and sugar. Sprinkle the active dry yeast over the top and let it sit for about 5–10 minutes until it turns foamy.
Step 2: Make the Dough
Add all-purpose flour and salt to the yeast mixture. Stir until it comes together into a rough dough. Add a splash of olive oil if you like a softer texture.
Step 3: Knead the Dough
Turn the dough out onto a floured surface and knead for 8–10 minutes until it’s smooth and elastic. If the dough feels too sticky, dust it lightly with flour as you knead.
Step 4: First Rise
Place the dough back into the bowl, cover with a clean towel, and let it rise in a warm spot until it doubles in size — about 1 hour.
Step 5: Shape and Proof
Punch down the risen dough, shape it into a ball or loaf, and place it on a greased baking sheet or in a loaf pan. Cover and let it rise again for 30–45 minutes.
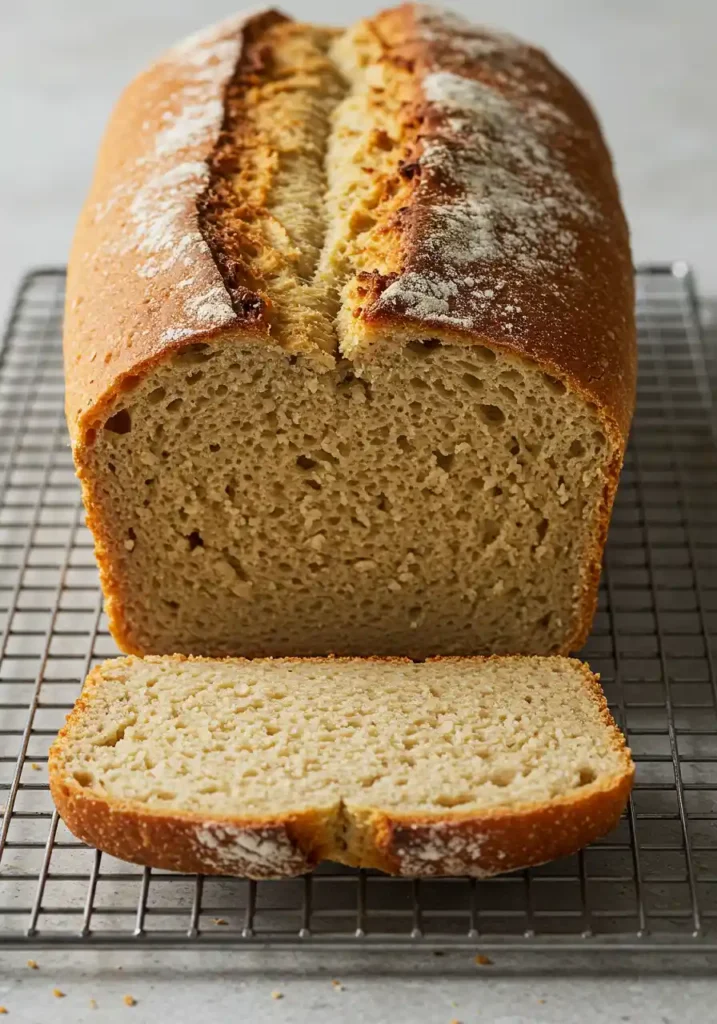
Step 6: Bake
Preheat the oven to 375°F (190°C). Bake the bread for 25–30 minutes until golden brown and it sounds hollow when tapped on the bottom.
Step 7: Cool and Serve
Transfer the bread to a wire rack and let it cool for 15–20 minutes before slicing. This helps set the crumb and keeps it from getting gummy.
Tips for Making the Best Reka Bread at Home
Getting the reka bread recipe just right isn’t hard, but a few smart moves can take your loaf from good to downright amazing. Here’s what you need to know.
Common Mistakes to Avoid
1. Rushing the Rise:
If you don’t give the dough enough time to rise, your bread will turn out dense. Be patient. Good bread takes a little love — and a little time.
2. Killing the Yeast:
Water that’s too hot can kill your yeast before it even gets started. Keep it warm, not steaming — around 105–110°F is perfect.
3. Adding Too Much Flour:
It’s tempting to dump extra flour when the dough feels sticky, but too much will make your bread tough. A little stickiness is normal.
4. Overbaking:
Pull your bread out once it’s golden brown and sounds hollow when tapped. Leaving it too long in the oven dries it out fast.
Tricks for Achieving a Soft and Fluffy Texture
1. Use Bread Flour:
While all-purpose flour works fine, switching to bread flour gives you that extra chew and softness some people crave.
2. Add Olive Oil or Butter:
A tablespoon of good olive oil or melted butter in the dough makes a huge difference in moisture and flavor.
3. Steam Your Oven:
Place a small pan of water on the lower rack while baking. The steam helps create a softer crust and a fluffier inside.
4. Let It Cool Properly:
Don’t slice into the bread right out of the oven. Letting it cool for at least 20 minutes helps finish the baking process inside and keeps your loaf tender.
Reka Bread Variations and Flavor Enhancements
Baking the classic reka bread recipe is great, but sometimes it’s fun to mix things up. A few small tweaks can give you different flavors without losing the heart of the bread.
Popular Variations Across Regions
1. Herb-Infused Reka Bread:
Mix dried herbs like rosemary, thyme, or oregano right into your dough. It adds a savory touch that’s perfect with soups and stews.
2. Cheese-Stuffed Reka Bread:
Before shaping your dough, tuck some shredded cheddar or mozzarella inside. Once baked, you’ll get gooey cheese pockets in every slice.
3. Rustic Whole Wheat Version:
Swap half the all-purpose flour with whole wheat flour. It gives your homemade reka bread a slightly nutty flavor and a denser, hearty texture.
4. Sweet Reka Bread Twist:
Mix a spoonful of honey or sprinkle cinnamon sugar on top before baking. It turns the bread into a cozy breakfast treat.
Sweet and Savory Twist Ideas
If you love experimenting, here are a few more ways to put a spin on your easy reka bread recipe:
- Savory: Add sun-dried tomatoes and basil for an Italian-style loaf.
- Sweet: Fold in dried cranberries and chopped walnuts for a fall-inspired flavor.
- Spicy: Sprinkle chili flakes into the dough for a little kick.
The cool thing about the reka bread recipe is that it’s super forgiving. You can add a little extra flair without worrying about messing it up. It’s the kind of bread that plays nice with whatever mood (or pantry ingredients) you’re working with.
Gluten-Free and Vegan Options for Reka Bread Recipe
Not everyone can dive into the classic reka bread recipe without a few adjustments. Good news — it’s super easy to tweak it for gluten-free or vegan needs without losing the heart of the bread.
How to Make Gluten-Free Reka Bread
Swapping out regular flour for a gluten-free option isn’t complicated, but you’ll want to use the right kind of blend. Here’s what works best:
- Use a 1-to-1 gluten-free baking flour that includes xanthan gum or guar gum for elasticity.
- Add extra moisture — gluten-free flours can be a little thirstier, so bump up the water or oil slightly if the dough feels too dry.
- Don’t over-knead — gluten-free dough is more delicate and doesn’t need heavy handling.
If you’re after a gluten-free homemade reka bread, patience is key during rising. It might not puff up quite as dramatically, but it’ll still bake into a delicious, soft loaf.
Vegan Substitutes for Traditional Ingredients
The traditional reka bread recipe is already pretty close to vegan — no eggs, no milk — but here’s how you make sure it stays 100% plant-based:
- Use plant-based sweeteners: If you’re strict vegan, swap out any honey with maple syrup or agave.
- Choose vegan-friendly yeast: Most commercial yeast is vegan, but double-check the label if you want to be sure.
- Optional: Add a tablespoon of olive oil or coconut oil for a richer loaf without any dairy.
Vegan reka bread tastes just as soft and cozy as the classic version — no compromises needed.
How to Properly Store and Reheat Reka Bread
After baking your reka bread recipe, good storage is key to keeping it soft and fresh.
Best Storage Tips
- Cool First:
Let your bread cool fully before storing to avoid sogginess. - Wrap Right:
Store in a bread box, linen bag, or wrap loosely in parchment paper. Avoid plastic, which traps moisture. - Eat Within 3 Days:
For short-term, a paper bag works. For longer, freeze slices separately in freezer bags.
Serving Ideas and Pairings with Reka Bread
The best thing about the reka bread recipe is how flexible it is. It goes with everything!
Best Ways to Serve Reka Bread
- With Soups and Stews:
Perfect for dipping into hearty soups like tomato, lentil, or beef stew. - Breakfast Favorite:
Toast a slice, add butter and jam, and you’re set for a cozy breakfast. - Sandwich Bread:
Soft but sturdy — great for grilled cheese or turkey clubs. - Cheese Boards:
Slice it up for a simple snack board with cheese, olives, and cured meats.
Creative Ideas for Leftover Reka Bread
- Croutons:
Cube and bake with olive oil and herbs. - Bread Pudding:
Turn old slices into a sweet, custardy dessert. - Garlic Bread:
Brush with garlic butter and toast for an easy side. - French Toast:
Reka bread soaks up custard perfectly for breakfast treats.
With a little creativity, your homemade reka bread never goes to waste.
If you’re planning a cozy meal, serve your homemade reka bread alongside these crispy Coconut Chicken Fingers with Bang Bang Sauce for a fun and satisfying combo.
FAQs About Reka Bread Recipe
What is Reka bread and where does it originate?
Reka bread is a traditional homemade loaf known for its soft crumb and light crust. While its exact roots aren’t clearly documented, it’s often associated with simple, home-style baking traditions passed through generations.
What are the essential ingredients for an authentic Reka bread recipe?
The core ingredients in a classic reka bread recipe are all-purpose flour, yeast, warm water, salt, and a little sugar. Olive oil is sometimes added for a richer flavor, but it’s optional.
How do you make Reka bread step-by-step at home?
Making reka bread at home is simple: activate the yeast, mix the dough, knead it until smooth, let it rise, shape the loaf, let it rise again, and bake until golden brown. It’s a straightforward, beginner-friendly bread recipe.
Can you make Reka bread gluten-free or vegan?
Absolutely. To make a gluten-free reka bread recipe, swap in a 1:1 gluten-free flour blend with xanthan gum. For vegan versions, use plant-based sweeteners and oils — the basic dough is already naturally egg-free.
How should you store Reka bread to keep it fresh?
Let the loaf cool completely before storing. Use a bread box, linen bag, or freeze slices individually if keeping it longer. Avoid plastic bags for everyday storage to prevent a soggy crust.
What are the best tips for making soft and fluffy Reka bread?
Use fresh yeast, don’t rush the rising time, and resist adding too much flour. Adding a splash of olive oil to the dough can also keep your homemade reka bread extra soft and tender.
Conclusion: Time to Master Your Own Reka Bread Recipe
If you’ve ever wanted an easy, rewarding way to bake at home, the reka bread recipe is where it’s at. With just a few basic ingredients and a little patience, you can pull a golden, soft loaf straight from your own oven — no fancy equipment needed.
Whether you’re sticking to the traditional style or trying a gluten-free or vegan version, making homemade reka bread is all about comfort, flavor, and simplicity. Plus, now you know exactly how to store it, reheat it, and even get creative with leftovers.
Ready to dive in? Grab your flour, wake up that yeast, and let’s make your kitchen smell amazing. There’s nothing better than a loaf of reka bread made by hand — and once you try it, you’ll wonder why you ever bought store-bought bread in the first place.
Don’t miss our sweet twist with these Caramelized White Chocolate Peach Scones — a perfect dessert to pair with your homemade reka bread!